A Newcomer's Companion to the Isle

THE TRAVELER'S
GUIDE

From first coin to first crown

Everything a fresh pair of boots needs to know — getting through the gate, learning the controls, filling your pockets, spinning the wheel, surviving the raids, and one day forging a world with your name on it.

scroll
Chapter I · The Gate

Entering the Isle

One wallet, one signature, fifteen thousand YORO

Yorozu lives at play.yorozu.gg and runs entirely in your browser — nothing to download. It is a wallet-native world: your wallet is your account, and holding the isle's token is your citizenship.

1
Get a wallet & some YORO

You'll need a browser web3 wallet (MetaMask or similar) on the Robinhood Chain. The isle's token is YORO — you must hold at least 15,000 YORO in your wallet to play. Anyone below the threshold may still wander invisibly as a spectator, but the isle only opens to holders.

YORO contract: 0x64abfc878dc340bbf33bae4aaf39ed33fb1828c0
2
Connect & sign — it's free

On the title screen press Connect Wallet, then sign the login message. The signature only proves the wallet is yours — it authorizes no transaction and costs nothing. Your name is chosen once and is permanent (letters only), so pick one you'll keep.

3
Press Enter, wash ashore

New travelers land on Training Shores, a gentle tutorial island. Old hands reconnect right where they left off — your session survives reloads for hours without re-signing.

Chapter II · Training Shores

Your First Steps

Learn the hands, meet the golem, walk the torii

Training Shores teaches by signpost: follow the lantern-lit path north and each station demonstrates a skill as you pass. When you're ready, step through the red torii gate at the top and the mainland is yours. (Replay it any time with /tutorial in chat.)

Optional Boss
The Straw Golem

A practice pit near the shore holds a lumbering 100-HP straw golem — the isle's gentlest boss. Beat it for a small reward and a shortcut portal to the mainland; fall, and you simply restart the Shores. It's the safest place you'll ever learn to fight.

The Straw Golem
←↑↓→Move (IJKL works too)
SAttack · and interact with anything you're near
SpaceClass ability (Medic heal · Knight shield)
BSatchel / profile
FTake all loot
MCycle the map
RMount / dismount your pet
PMarketplace
EnterChat (Tab works too)
CSit & rest
EscFlee a raid (you keep your life)
1–4Emotes

Every bind except the arrows can be remapped in Settings.

Archer
Archer
The Default · Bow
Quick on the string with an honest arrow. No frills, all fundamentals — the shape most travelers learn the isle in.
Medic
Medic
Space · Heal
A bow like the Archer's, plus a mana-fed burst of healing for yourself and nearby allies. Raid parties adore a good one.
Knight
Knight
Space · Barrier
Trades the bow for a sword and raises a projectile-eating barrier. Close range, big presence, the party's shield.
Chapter III · The Purse

Money 101

Two currencies, two fragments, one exchange

The isle runs on a braided economy. YORO ◆ is the hard, on-chain token — deposited to spend. Gems ⬡ are the warm soft currency you earn by playing. Between them stands the Exchange, and beneath them both, fragments.

Depositing YORO — your first errand

Click the ◆ balance chip at the top of your screen to open the bank panel. The DEPOSIT tab pops your wallet with a ready-made transfer — send any amount of YORO and it appears in your in-game balance about a minute later. That deposited balance is what feeds the Spinner and stakes your wagers.

WITHDRAW lives in the same panel: your in-game YORO walks straight back to your wallet. And don't worry — deposited YORO still counts toward your 1,000, so playing never locks you out.

Earning gems

Gems come to those who play: pair one sky-blue Celestial Fragment (dropped in raids) with one leaf-green Verdant Fragment (harvested from land plots, or dug from Frostmere's frost cave — the shop there sells shovels) and fuse them at the Fusing Bench inside your satchel (press B). Gems also arrive from Spinner pulls, casino wins, marketplace sales, and wagered duels.

The Exchange — gems ⇄ YORO

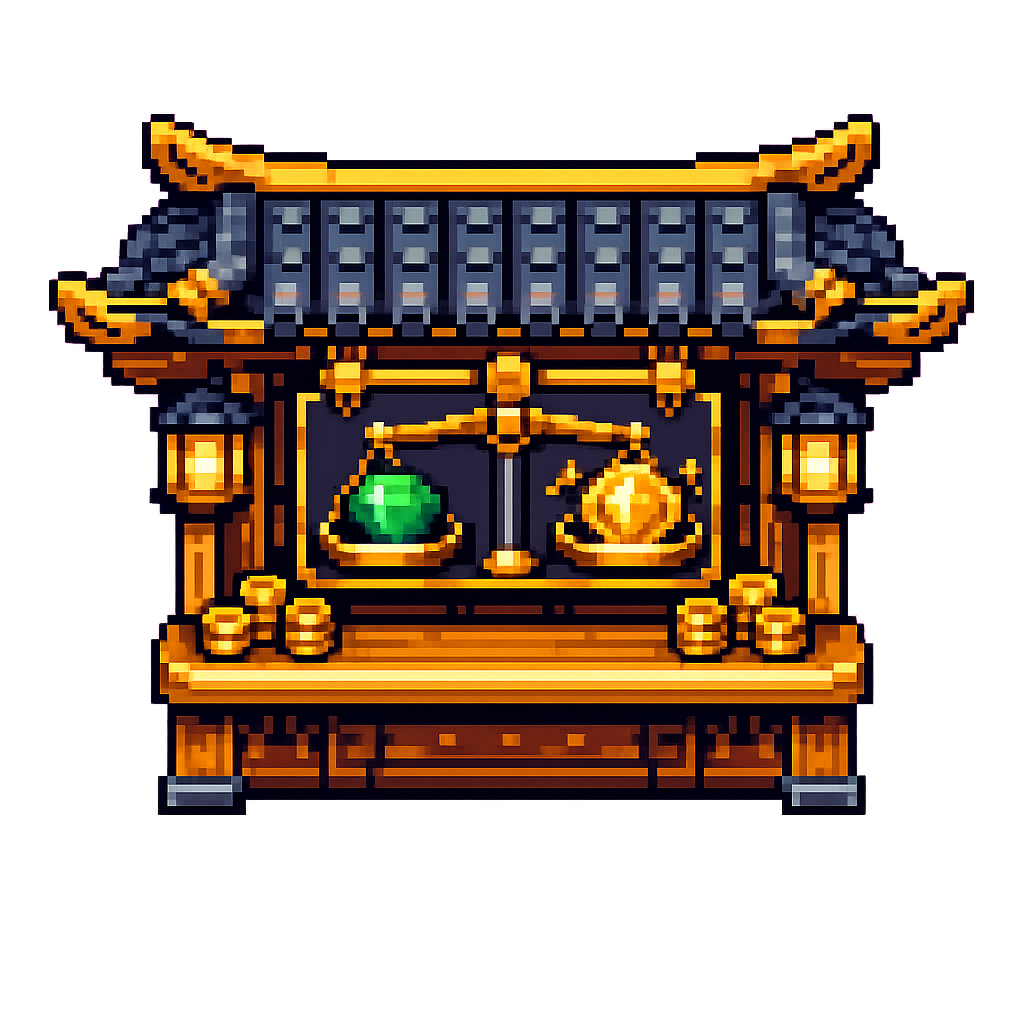
The isle runs its own exchange between the two currencies — swap either direction, any time, at the live rate. Find it on the Exchange tab of the Marketplace (press P) or at the kiosk down by the cove. A small fee is burned with every swap.

Celestial Fragmenttorn from raid bosses & minions
+
Verdant Fragmentgrown on plots · dug in Frostmere
=
1 Gem ⬡the isle's working coin
Chapter IV · The Wheel

Spinning the Spinner

$2.50 a pull, priced live in YORO — nine of every ten coins burned

The YORO Spinner is the isle's gacha — the only place land deeds, pets, and the rarest cosmetics enter the world. Every pull costs $2.50 worth of YORO at the live market rate (the machine reprices itself as the market moves), and 90% of every pull is burned — removed from the world's supply forever (the rest funds the Referral Program below).

How to pull
Walk up · press S · choose ×1, ×5 or ×25

Machines stand in the Fortune Hall and beside the temple in the overworld. Deposit YORO first (Chapter III), stand at the machine, press S, pick your batch size and PULL. Multi-spins reveal the whole batch at once, rarest prize up front.

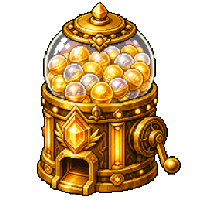
Gacha capsule
The Spinner
What the wheel holds
13 tiers of fortune
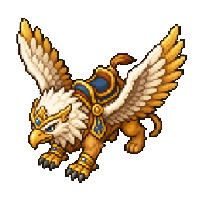
Gems in five sizes, tradable gear, Pet Effusions, resurrection amulets, vault extensions, the Royal Garb and Golden Crown, Genesis Halo, land deeds, the loyal Steed — and at the summit, the mythic Griffon.
Cost · $2.50 in YOROBatches · ×1 ×5 ×25Every pull · 90% burned forever
The Griffon
The Jackpot
The Griffon
A mythic mana-restoring mount in a razor-thin slice of the wheel — somebody wins it. The land deeds are nearly as coveted: the Spinner is the only place new land enters the isle.
Fortune Hall
The Fortune Hall
gem games · same roof
The hall also runs three honest gem games — wheel, dice, and slots — if you'd rather gamble the soft currency. The Spinner alone takes YORO.
Brought here by a friend?
Type /ref TheirName in chat

Do it within your first three days on the isle. It costs you nothing — but from then on your friend earns a small share of every Spinner pull you make, paid from the tenth the wheel holds back. Fell your first dragon and you'll officially count toward their recruiter rank. When it's your turn to bring someone, your code is simply your name — track and claim your earnings on your profile.

Referral earnings
Chapter V · The Lay of the Land

Where Everything Is

A walking tour from the town square

You arrive in the overworld's town square. Every landmark below is a short walk — press M to cycle the map (the maximized map labels every building).
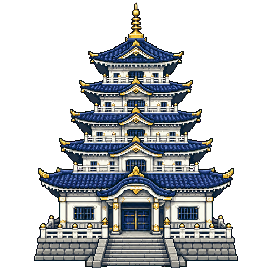
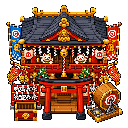
The Temple & DojoDue north of the plaza, up the paved path. Wagered 1v1 sparring on three floors inside, the Empyrean gate crowning the top floor, the Infernal portal smouldering at the very top of the temple path — and a Spinner tucked at the temple's corner.
The Fortune HallFollow the avenue south-west to the quiet cove plaza — the Fortune Hall is its east building. Three gem games at the back, twin golden YORO Spinners by the gallery.
The Exchange KioskOn the cove plaza right beside the Fortune Hall — walk up, press S, and swap gems ⇄ YORO on the spot. (It's also the Marketplace's first tab — press P anywhere.)
The Town & OutfitterThe town sits on the eastern peninsula. Its shop sells resurrection amulets, plot signs, forge & stable deeds, vault expansions, and a free wardrobe of cosmetics — walk up to a stall and press S.
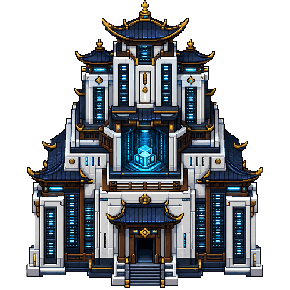
The Data CentreOn the northern headland above the town — humming racks and glowing GPU pillars. Press S at the forge pillar to open the Worldsmith; the arches beside it lead into player-forged worlds.
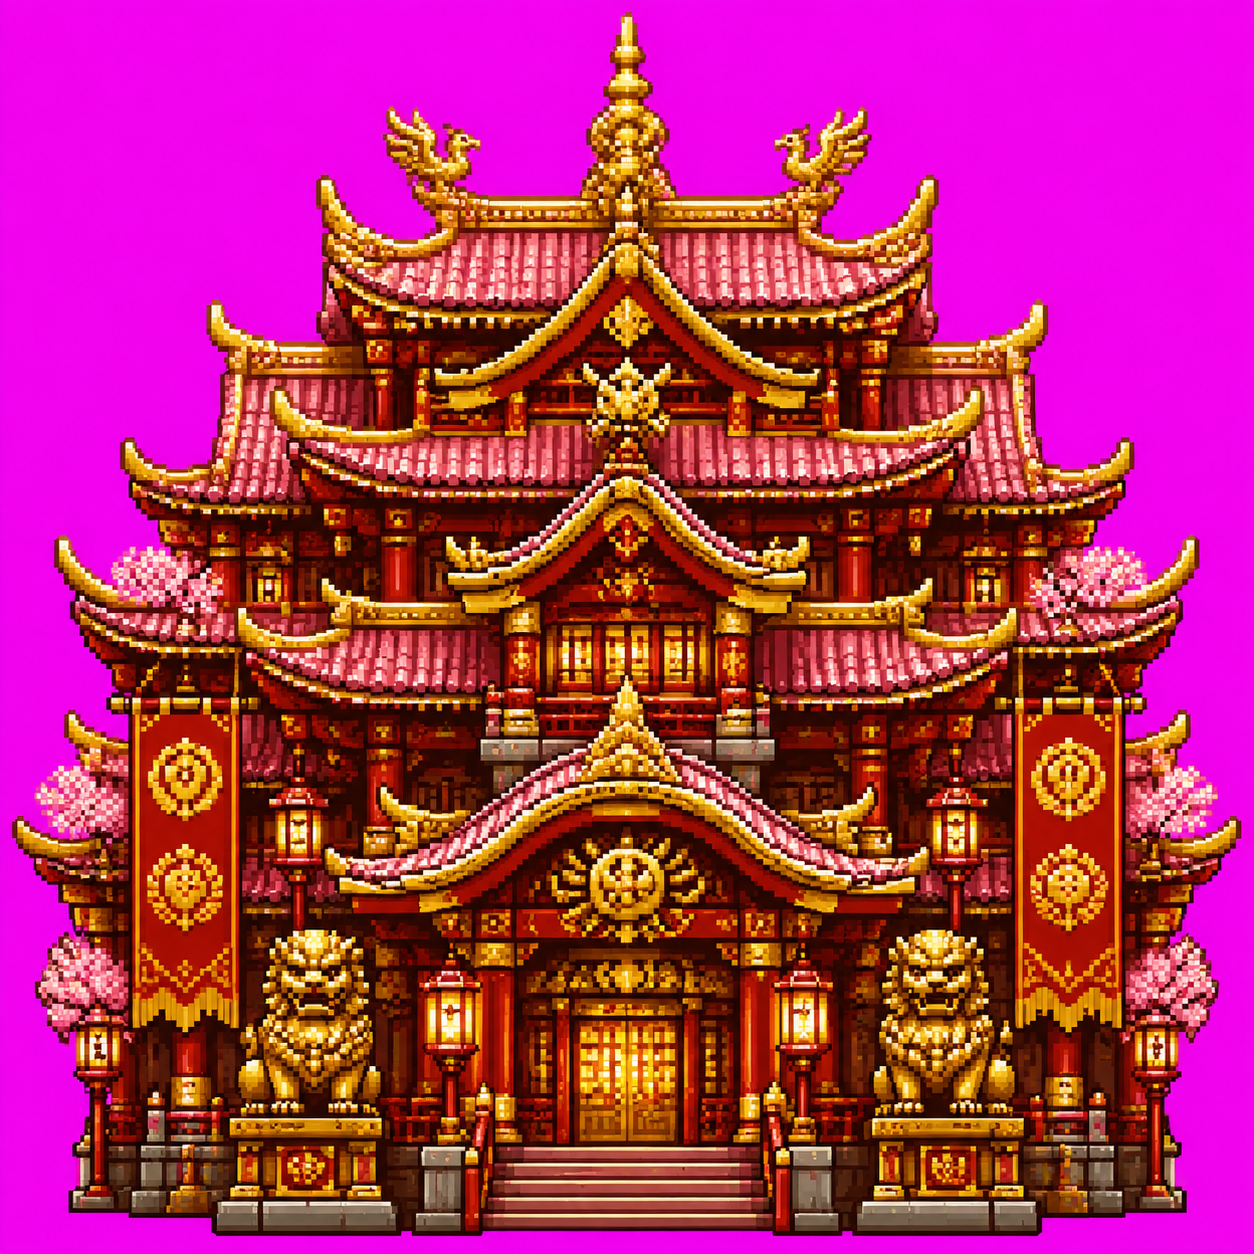
The Legends ShrineSouth, in the western darkwood near the beach — a red-and-gold temple of four golden leaderboards (Duelists, Fallen, Rollers, Sages) with the 2v2 arena upstairs.
The Wildlands (World 2)Through the dark stone arch in the south-east darkwood — a vast five-biome frontier of farm plots, forges and stables, where Verdant Fragments grow.
FrostmereWalk the west path to the shore and board the boat (the sail is free). A snow town of cozy lodges, player plots, a wares shop — and a frost cave you can dig for Verdant Fragments.
The ExpanseThrough the shadowed gate just above the Legends Shrine — a dark wildland of roaming monsters. Safe farming: you can never lose gear there. Four rift raids ring its volcanic heart.
The Raid GatesThe cloud portal on the north-west shore, the water-arch on the boardwalk pier, the temple gates, the rifts — each leads to a raid world. Read Chapter VII before you step through.
Chapter VI · The Climb

Growing Stronger

Gear, effusions, pets — the three pillars of power
Gear
Gear
bow · armor · quiver · ring
Four slots, seven rarities from Common to the bound Untiered. Raid bosses drop by difficulty — harder worlds guarantee rarer floors. Trade freely on the marketplace; equip your best before every fight.
Effusions
Effusions
drinkable stat boosts
Consumables that permanently raise speed, attack, health or defense by +0.25 a drink (to a +2.5 cap each) — until a raid death resets them. Bosses drop them 1 in 3; the Spinner pours them too.
Pets
Pets & Mounts
R to ride
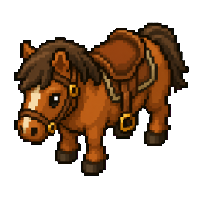
The Steed regenerates health; the Griffon, mana. Both come from the Spinner. Feed them Pet Effusions at any plot's Stable to level their aura — and press R to ride.
Forges
Trade-up Forges
5 → 1 · on player plots
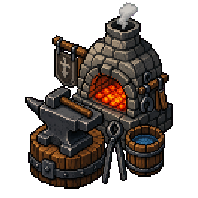
Feed five same-rarity pieces into a plot's Gear Forge and one piece of the next rarity comes out — all the way to the isle's only craftable Untiered. The plot's landlord takes a cut of your fee.
Chapter VII · The Ladder

Raiding, Sensibly

Six difficulties, honest stakes, one golden rule

Raids are co-op dungeon worlds — waves of minions, then a boss that grows tougher the bigger your party. Entry costs a small gem toll by difficulty. The golden rule: fall in a raid and your equipped gear stays on the floor (and your effusions wear off) — flee with Esc, live poor, fight again.

1
Farm safe in the Expanse

Start here: the wildland through the gate above the Legends temple is gear-loss-free. Roaming monsters, gear-only drops, zero risk to your kit — the place to learn combat and stack pieces.

2
Run the low ladder

The cloud portal on the north-west shore is the classic first raid — a gem or two at the gate. From there, the Expanse's four rifts ring its volcanic heart; Cinder Hollow and the Molten Vault make a fine mid-ladder.

3
Then the high gates

The Infernal Abyss at the top of the temple path, the Empyrean atop the dojo, Atlantis through the water-arch on the pier — the hardest doors on the isle, where the rarest drops live. Bring a party, bring a Medic, carry a resurrection amulet.

4
And the player-forged frontier

Beyond the fixed worlds, the data-centre portals hold player-forged raids — new ones appear weekly, priced by their creators, judged by YORO-holder vote. Every visit pays the creator half the toll.

5
Raid private with a guild party

A boss gains health for every player who enters — even ones who never lift a bow — so raiding among strangers can mean a bloated, uncontested boss. The fix: form a party with your guildmates. Walk up to a guildmate and press + Party on their card; a party of up to six drops into its own private instance that no random can enter, so the boss scales only to the people actually fighting. (Parties are guild-only, and last for the session.)

Chapter VIII · The Long Game

Making Your Fortune

Land, worlds, markets, wagers
Land
Own Land
deeds from the Spinner · traded at yorozu.gg/land
Plots ripen Verdant Fragments; owners collect a cut of every harvest and can build Forges and Stables that earn fees. Land enters the world only through Spinner deed wins, and trades wallet-to-wallet on the land market.
Worldsmith
Forge a World
3,500 gems · at the data centre
Press S at a GPU pillar, describe a realm, pick a difficulty and set your own entry fee — an AI forges the whole raid live. You keep one Untiered founder's relic and half of every toll. Worlds live a week; YORO holders vote keep-or-cull.
Market
Trade the Market
P · list anything tradable
Gear, effusions, amulets — list them for gems and the market takes a small burned fee. Sharp eyes profit on underpriced drops; the Exchange turns the proceeds into YORO whenever you like.
Sparring
Wager the Ring
dojo 1v1 · arena 2v2
Stake gems or YORO on your own blade — the ring holds both stakes safely, and the winner takes the pot. Victories climb toward the Legends leaderboards, and the top three wear glowing auras in the streets.
Appendix

Quick Reference

The essentials
Playplay.yorozu.gg
Hold to play15,000 YORO (wallet + deposited)
YORO contract0x64abfc…28c0 · explorer ↗
Deposit / withdrawclick the ◆ balance chip in-game
Spinner pull$2.50 in YORO, live-priced · ×1 / ×5 / ×25 · 90% burned
Referralstype /ref FriendName in your first 3 days — your recruiter earns a share of your spins (costs you nothing)
Exchangegems ⇄ YORO at the live rate · Marketplace (P) or the cove kiosk
Forge a world3,500 gems · entry fee yours to set · 50% of tolls
Rename500 gems · /rename
Replay tutorial/tutorial
Stuck somewhere?/teleport brings you home
Land marketyorozu.gg/land
The rules that bite
Raid deathequipped gear drops · effusions wear off — Esc flees safely
Expansealways safe — no gear loss, ever
Namespermanent · letters only · chosen once
Petspress R to ride · feed Pet Effusions at a Stable to level them
Sparringstakes are held safely by the ring — winner takes the pot
Vault80 slots free · expandable to 500